GitHub Markdown: A Beginner's Guide

I am an aspiring full-stack web developer, an open source enthusiast and a community builder.
Hey folks, hope you're doing well. Have you heard of GitHub Markdown before?
You might have seen those cool GitHub README.md files, yes that's GitHub Markdown.
In this particular blog, we will see all those basic writing and formatting syntax that we can use in our repos to make it cool looking. So let's dive deep into the actual stuff 😌

What is GitHub Markdown?
First of all, Markdown is a lightweight markup language that lets you add formatting to plain text documents. It's designed to be easy to read and write. Cool?
GitHub markdown is a special flavor of Markdown that allows you to format text on GitHub. Particularly in READMEs, Comments, Issues Pull Requests, and many more.
Well, it's quite important to learn for anyone who wants to effectively use GitHub, especially developers, and programmers as it helps in improved communication and professional READMEs, and it's simple to understand so why not?

Basic Writing and formatting syntax
Headings
Add one to six # symbols before your text. The number of # you use will determine the level and typeface size of the heading
# First level heading
## Second level heading
### Third level heading
... and so on

<!-- This is a comment, it won't appear in the rendered markdown -->
Styling the text
bold, italic, strikethrough, subscript, and superscript text in .md files
**This is Bold text**
_This is italicized text_
~~strikethrough~~
<sub>subscript</sub>
<sup>superscript</sup>
examples of Subscript ( H₂O ), Superscript ( aⁿ , m² )
Write code in markdown
We can use triple backticks to format code or text into distinct blocks.
```
npm init -y
npm install express
```
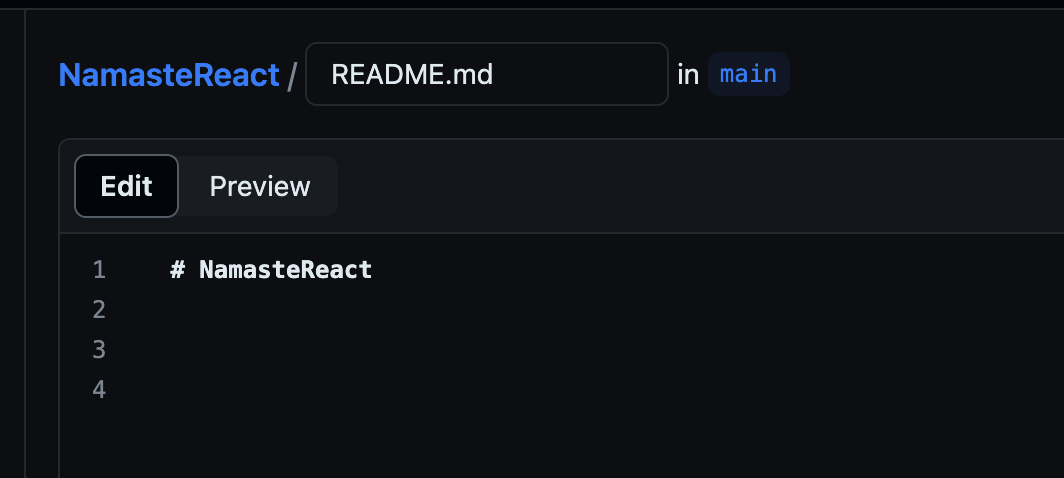
It seems interesting right, try it out yourself by creating a README.md file on your repository. You can click on the Preview button to see the final output of the styling you've done 😉
Add Links, Images to the markdown file
This is the homepage of [Google]("https://www.google.com/")

alt text: short text equivalent to the information in the image.need to wrap the link for the image in parentheses.
the link could be relative as well, like
./assets/images/random.png
Hope you're able to understand this, so now let's move next to Lists.

Lists
You can make an unordered list by using either of - , * , + , and an ordered list by preceding each line with a number. Simple!
- Hi, I am Yashpreet.
- This is an unordered list.

1. This is the example of
2. Ordered list.
There can be nested lists as well, see this example
1. First list item
    - First nested list item
    - SEcond nested list item
Task Lists
You would encounter this while making a pull request 😉
- [x] This is a checked box
- [ ] This is an unchecked box

Well majorly this much of GitHub markdown one should be aware of, and if you're at this point, you're good to go 🚀
But here is some extra content for you ✨
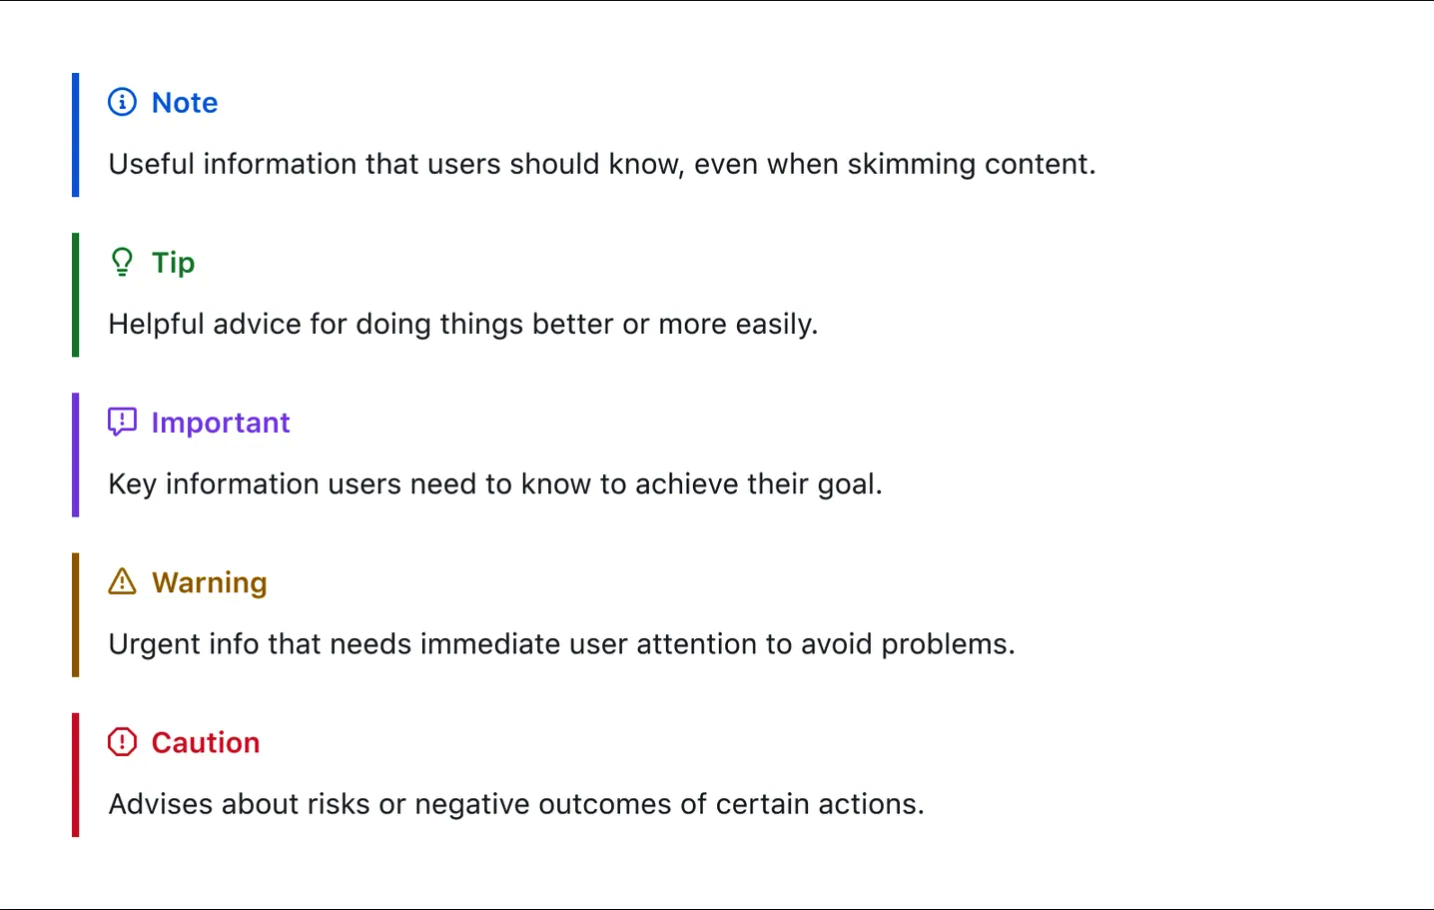
you can add quotes with
>symbol.for all the alert signs you can write as
[!NOTE],[!TIP],[!IMPORTANT],[!WARNING],[!CAUTION]
We're done, I hope this blog has been a helpful introduction to GitHub Markdown. Now, go forth and enhance your GitHub contributions with the power of Markdown!
Drop a comment if you liked it or any suggestions maybe, and consider following me as well 😉

